If you're looking for a hair trend that's simple, sleek, and oh-so-stylish, then glass hair is the perfect option for you. This trend, which involves creating a smooth, glossy finish that reflects light like glass, has taken the beauty world by storm. And the best part? Achieving glass hair is quite simple. Anyone can transform their locks into a mirror-like shine with the right products and techniques. In this blog, we'll dive into everything you need to know to achieve glass hair, including tips, tricks, and the best products. So, get ready to say goodbye to dull, lifeless locks and hello to a shiny, sleek new look.
Wash And Condition Your Hair
Achieving glass hair starts with proper hair care, which begins with washing and conditioning your hair. The right products and techniques can make all the difference in creating a sleek, shiny finish.
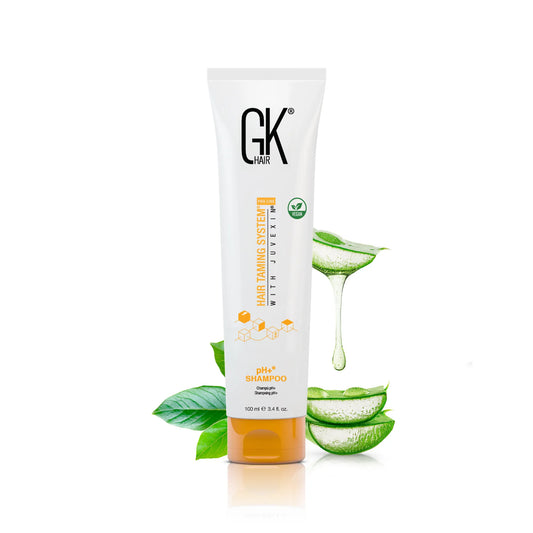
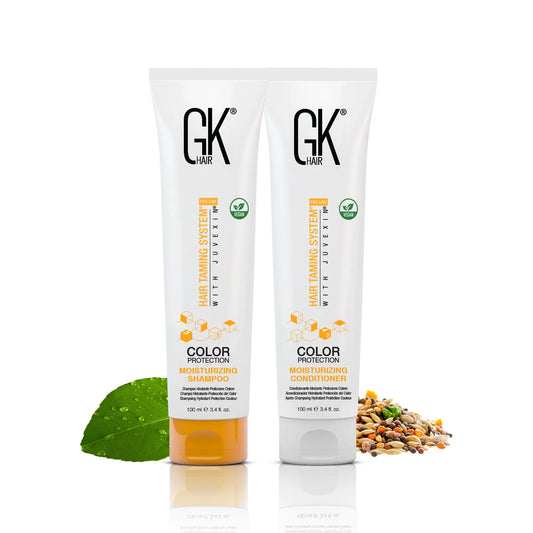
Firstly, it's crucial to choose a shampoo that's formulated for your hair type. If you have oily hair, opt for a clarifying shampoo that removes excess oil and buildup. If you have dry or damaged hair, choose a moisturizing shampoo that adds hydration and nourishment. Look for sulfate-free shampoos, as sulfates can strip your hair of its natural oils and cause damage. GK Hair's shampoo line is sulfate-free, so you might want to check them out!
When it comes to conditioning, use a hydrating conditioner that's specifically formulated for your hair type. Apply the conditioner from mid-length to the ends of your hair, and leave it in for a few minutes before rinsing. If your hair is particularly dry or damaged, consider using a deep conditioning treatment once a week to boost your hair's moisture.
In addition, proper washing and conditioning can also help remove product buildup, which can weigh down your hair and make it look greasy. By keeping your hair clean and free of buildup, you create a clean canvas for styling, allowing your hair to reflect light more easily, resulting in that coveted glass-like shine.
Apply Heat Protectant
When it comes to achieving glass hair, heat styling is often involved, whether it's using a flat iron, curling iron, or blow dryer. However, heat styling can cause damage to your hair, leaving it dry, brittle, and prone to breakage. That's where heat protectant comes in - a crucial step in creating glass hair that's healthy and shiny.
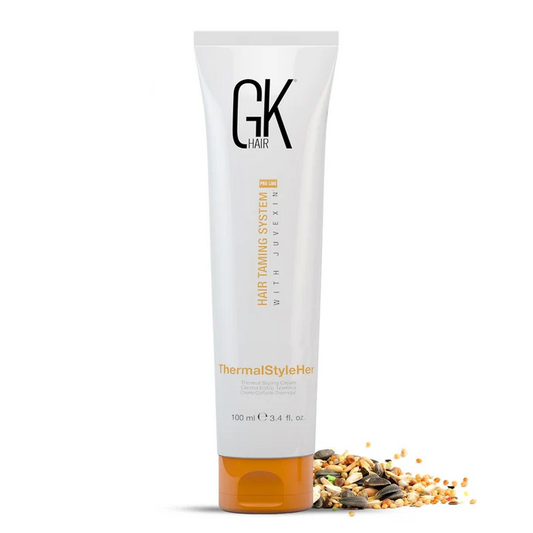
Heat-protectant products come in various forms, including sprays, serums, and creams. They create a barrier between your hair and the heat, reducing the damage that heat styling can cause. They also often contain ingredients that help hydrate and nourish your hair, further protecting it from damage.
To apply heat protectant, start by washing and conditioning your hair as usual, then towel dry until it's damp. Depending on your product, you may need to shake the bottle or tube before using it. Apply the heat protectant evenly throughout your hair, focusing on the mid-length to ends, as this is where heat styling is most likely to cause damage. Be sure to comb through your hair afterward to distribute the product evenly.
Now, you might be wondering why using a heat protectant is so important for achieving glass hair. The answer is simple: heat styling can cause damage to your hair, which can lead to frizz, split ends, and a lack of shine. Using a heat protectant can minimize the damage caused by heat styling, allowing your hair to stay healthy and shiny.
Moreover, using a heat protectant can also help your hair retain moisture, essential for achieving that glass-like shine. When your hair is hydrated, it reflects light better, creating a glossy, healthy appearance.
Flat Iron In Fine Sections
Now that you've washed, conditioned, and applied a heat protectant to your hair, it's time to style it to achieve that coveted glass hair look. A flat iron is one of the most popular ways to create a sleek, shiny finish. Here's how to do it:
- Divide your hair into small, manageable sections. This is important to flat iron each section evenly and achieve a smooth, sleek finish.
- Starting with the bottom section of your hair, take a small subsection and run the flat iron over it slowly, applying even pressure. Keep the iron moving steadily to avoid creating kinks or ridges in your hair.
- Once you've flat ironed a section, move on to the next one, continuing until you've flat ironed all your hair.
Why is it necessary, though? Using a flat iron on small sections of hair can create a smoother, more even finish. If you try flat ironing too much hair at once, you risk missing some areas or not applying enough heat, resulting in a less-than-perfect finish.
Using a flat iron on fine sections of hair allows you to apply even pressure, which is key to achieving a glass-like shine. By pressing down evenly on each section of hair, you create a sleek, uniform finish that reflects light beautifully.
Finish With The Right Products
Now that you've washed, conditioned, applied a heat protectant, and used a flat iron to style your hair, it's time to finish your look with the right products to achieve that perfect glass hair finish.
One of the key products for finishing off a glass hair look is a shine serum or oil. These products work by smoothing the hair cuticle and providing a sleek, reflective surface. To apply, rub a small amount of the serum or oil between your palms and work it through the mid-lengths to ends of your hair, taking care not to apply too much and weigh your hair down.
Another essential product for achieving a glass hair finish is hairspray. A light, flexible hold hairspray can help lock in your style while allowing your hair to move freely. Spray a light mist over your hair from a distance, holding the can about 12 inches away, to avoid creating any sticky, clumpy areas.
If you have any flyaways or frizz, a small amount of pomade or hair wax can help to smooth them down and create a sleek, polished finish. Just apply a small amount of product to the areas that need taming, being careful not to use too much.
These products are really important as they help to smooth down the hair cuticle and create a reflective surface, which is key to achieving that glass-like shine. Without these products, your hair may look dull or frizzy, detracting from the overall effect.
Final Look
And there you have it – the complete guide to achieving glass hair! By following these steps, you can create a sleek, polished finish that reflects light beautifully and makes you feel confident and glamorous.
Remember, achieving glass hair is all about caring for your hair and using the right products and techniques. By washing and conditioning your hair regularly, using a heat protectant, flat ironing in fine sections, and finishing off with the right products, you can create a stunning, glass-like finish that will turn heads wherever you go.
So, go ahead and try out these tips and techniques to achieve your perfect glass hair look. Whether you're getting ready for a special occasion or just want to feel polished and put together every day, this look is sure to make you feel fabulous.
Now that you know how to achieve glass hair, it's time to try it out for yourself! Style your hair using these tips and finish with your favorite products, then step out and show off your gorgeous, reflective finish. You're sure to turn heads and feel amazing with your new glass hair look!


